Chill Prelude
Camping without electricity forces you to confront multiple operational challenges that impact food safety, daily routines, and emergency preparedness.
Without powered refrigeration, perishable food is exposed to ambient temperatures that accelerate bacterial growth and spoilage, necessitating the use of alternative cooling methods.

Foods such as meat, dairy, poultry, and certain produce can quickly enter the “danger zone” (40°F–140°F), where pathogens multiply exponentially.

Our objective is to outline practical techniques—from using insulated coolers and evaporative cooling devices like Zeer pots to leveraging underground storage and natural water sources.
Each method is detailed with step-by-step instructions, material requirements, and maintenance tips to ensure food safety and freshness.
Frosty Findings
- Keep perishables below 40°F to inhibit bacterial growth.
- Temperature swings hasten spoilage and quality loss.
- Insulated coolers, Zeer pots, and underground methods work well.
- Pre-chilling and efficient packing boost cooling efficiency.
- Strategic placement and daily upkeep optimize performance.
Why Can’t We Keep Food At Room Temp?
Perishable foods must be stored at or below 40°F (4°C) to inhibit rapid bacterial growth.
This threshold is critical because temperatures between 40°F and 140°F (4°C–60°C) constitute the “danger zone,” where pathogens multiply exponentially.
Food Spoilage and Illness
Food spoilage occurs due to:
- Microbial growth – Bacteria and fungi multiply, leading to contamination.
- Enzymatic activity – Natural enzymes in food break down proteins and carbohydrates.
- Chemical reactions – Oxidation causes rancidity and nutrient degradation.
These chemical reactions degrade food quality, leading to off-odors, textures, and flavors that render food unsafe to eat.

When perishable items such as meat, dairy, and fresh produce are kept above 40°F (4°C), pathogens like Salmonella, E. coli, and Listeria proliferate rapidly, increasing the risk of foodborne illnesses.
These illnesses can result in severe gastrointestinal distress, dehydration, and systemic infections, particularly in vulnerable populations.
How temperature fluctuations affect food quality
Temperature fluctuations compromise food quality by inducing physical, chemical, and microbial changes.
Repeated cycles of warming and cooling cause condensation, leading to moisture accumulation that promotes microbial growth.
In frozen foods, temperature variations generate ice crystals that rupture cell walls, degrading texture and increasing drip loss upon thawing.

Thermal fluctuations accelerate enzymatic reactions that break down proteins and lipids, resulting in off-flavors, rancidity, and nutrient loss.
Additionally, inconsistent temperatures can weaken packaging, permitting oxygen and moisture ingress, which further catalyze spoilage processes and diminish overall food safety and quality.
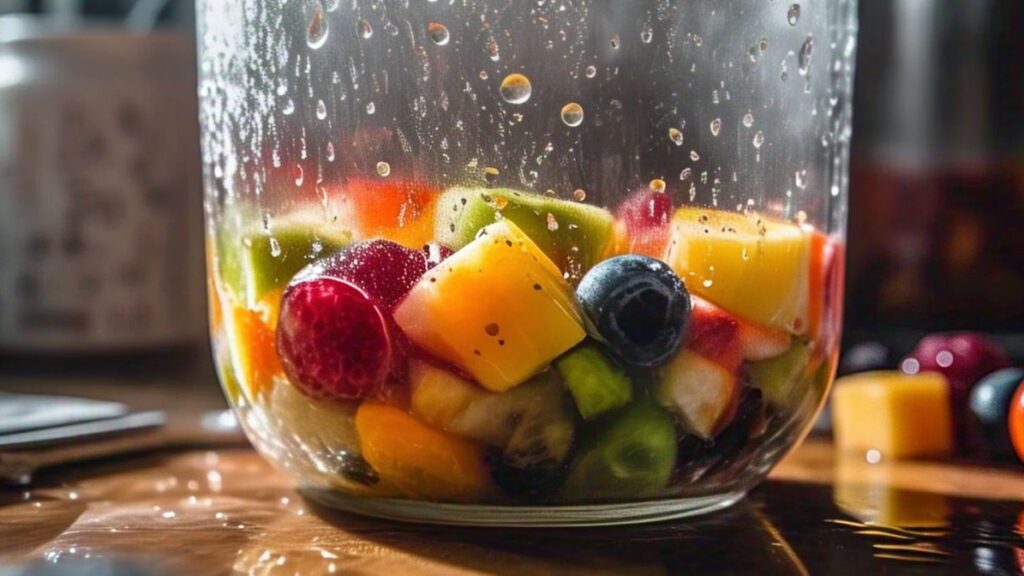
Ideal Storage Temperatures for Food
For long-term storage, frozen items should be maintained at 0°F (–18°C) or lower. These guidelines apply to raw meat, poultry, seafood, dairy products, eggs, and prepared foods. Here is a list of items alongside their individual storage temperature:
Image | Food Item | Ideal Storage Temperature |
|---|---|---|
 | Fresh Apples | 32°F (0°C) |
 | Bananas | ~58°F (14°C) |
 | Milk | 36°F–40°F (2°C–4°C) |
 | Raw Chicken | ≤40°F (4°C) |
 | Raw Beef | 34°F (1°C) |
 | Fresh Fish | 32°F (0°C) |
 | Eggs | ~40°F (4°C) |
 | Vegetables | ~40°F (4°C) |
Traditional and Modern Cooling Methods
There are several techniques for cooling down your food. Some traditional, some modern. Take a look at them.
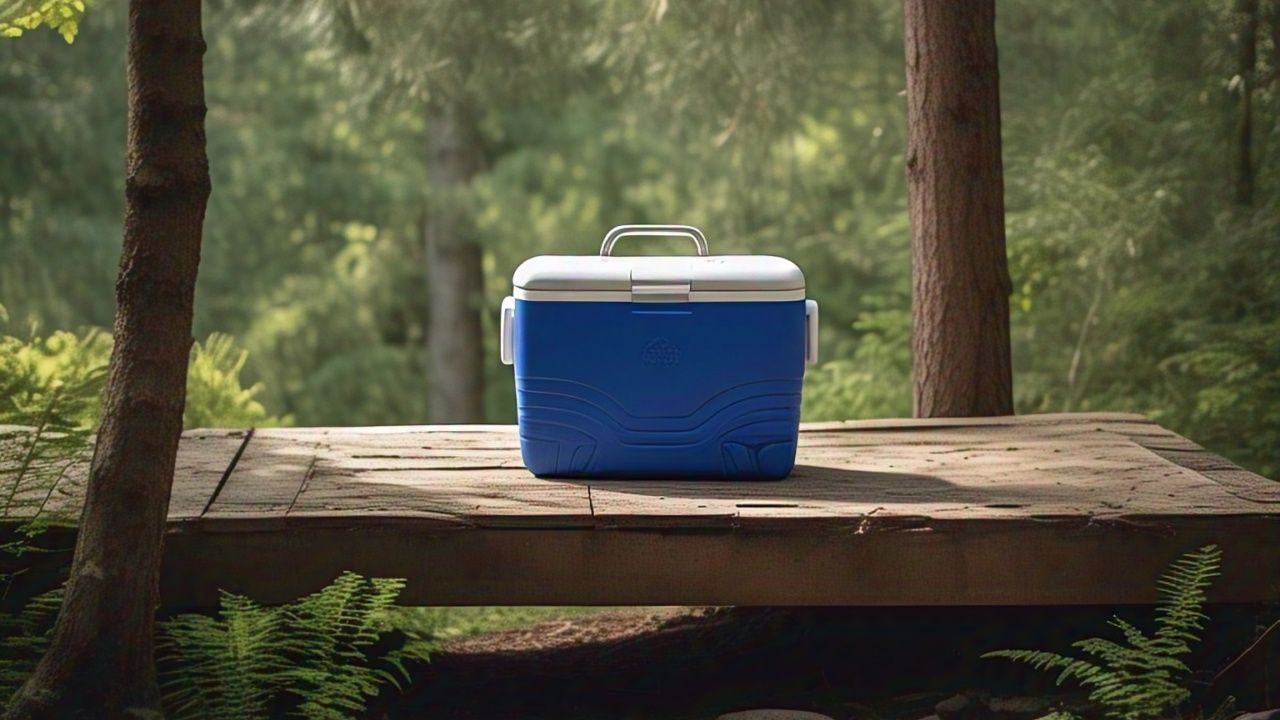
Insulated Coolers and Ice Techniques
Insulated coolers maintain low internal temperatures by using high-density foam or similar materials that reduce heat transfer.
Pre-chilling the cooler with ice or cold water before packing significantly lowers the starting temperature, extending the duration of cold retention.

Tips for maximizing cooler efficiency:
- Use block ice instead of ice cubes – It melts slower due to a lower surface-area-to-volume ratio.
- Pre-chill the cooler – with ice or cold water before adding food.
- Freeze water bottles – instead of loose ice to reduce mess and add thermal mass.
- Layer items properly – Frozen foods at the bottom, perishables on top.
- Minimize air gaps – Pack tightly to reduce heat transfer.
- Limit cooler openings – to prevent cold air from escaping.
Evaporative Cooling Methods: Zeer Pot
Evaporative cooling uses the energy absorbed during water evaporation to reduce ambient temperature without external power.
When water evaporates from a porous medium, it draws heat from its surroundings, lowering the temperature of the medium and adjacent items.

A prime example is the Zeer Pot or pot-in-pot cooler. This system uses two unglazed clay pots with a gap filled with damp sand.
As the water in the sand evaporates, it continuously removes heat from the inner pot, maintaining a lower temperature inside. Here is how you can make a Zeer pot cooler.
1. Gather Materials:

- Two unglazed clay pots—one smaller than the other, with a uniform gap of 1–2 inches when nested.
- Clean, fine sand (ensures consistent moisture and airflow).
- Water (preferably at room temperature).
- A damp cloth or burlap cover (to reduce direct sunlight and promote evaporation).
2. Prepare the Pots:

- Thoroughly wash both pots to remove dust and residues; do not use any sealants since porosity is essential for evaporation.
- Test-fit the smaller pot inside the larger one; ensure there is an even gap around all sides.
3. Fill the Gap with Sand:

- Add some sand to the bigger pot, then place the smaller pot in it.
- Evenly fill the gap between the pots with dry sand.
- Do not compact the sand tightly; it must remain loose to allow water to circulate and evaporate effectively.
4. Moisten the Sand:

- Slowly add water to the sand until it is uniformly moist but not waterlogged.
- Ensure the water saturates the sand without pooling, as excess water can enter the inner pot.
5. Load the Inner Pot:

- Place perishable food or other items inside the inner pot.
- Use airtight containers if necessary to prevent contamination from the moist environment.
6. Cover the Zeer Pot:

- Cover the top of the larger pot with a damp cloth or burlap, or use a loose-fitting lid.
- The cover should block direct sunlight while still allowing air circulation to sustain evaporation.
7. Optimize Placement and Maintenance:

- Place the assembled Zeer Pot in a well-ventilated, shaded area with a gentle breeze to maximize evaporative cooling.
- Regularly check the sand’s moisture level and add water as needed to maintain continuous cooling performance.
Natural Cooling Techniques
Natural cooling techniques harness environmental stability to maintain low temperatures without power.
One proven method is burying food underground; soil, especially below the top few feet, remains consistently cool regardless of air temperature.

While some, if not most people may consider it a bit gross, here is how to do it regardless.
- Pack – Pack perishable items in airtight, insulated containers
- Bury – Submerge them in a pre-dug pit or natural depression
- Cover – Then cover with additional insulating material such as straw or leaves to minimize heat transfer.
In regions with cold water bodies, sealed containers can be submerged in streams or lakes, leveraging water’s high thermal mass to sustain low temperatures.
Snow banks and ice fields offer another resource: encase food in waterproof bags and nestle them in snow, allowing the natural ice to absorb ambient heat.

Finally, choosing shaded, naturally cool areas—such as rock crevices or near vegetation that blocks direct sunlight—can further reduce temperature fluctuations.
Each method exploits nature’s inherent thermal stability to preserve food safety and quality without modern refrigeration.
However, don’t expect these methods to replace modern cooling systems.
Packing and Organizational Strategies
Packing and organization can make or break the effectiveness of your cooling container. That is how important it is. Here is how to do it.
Pre-freezing food items before departure
Pre-freezing food items before departure establishes a low starting temperature, effectively increasing the thermal mass within your cooler.
Fully frozen items absorb ambient heat as they slowly thaw, extending the duration of cold retention.

This process minimizes the risk of bacterial growth by delaying the time food spends in the ideal temperature for bacteria to grow.
Additionally, pre-frozen items help maintain a uniform temperature distribution, reducing the frequency of ice replacement.

Ensure that foods are properly packaged to avoid freezer burn and leakage, and arrange them strategically—placing highly perishable items adjacent to frozen elements—to maximize the cooling effect during transport.
layering and minimizing air space
Efficient packing maximizes thermal retention by strategically arranging items to reduce air pockets and improve contact between cold items.
Begin by placing the most frozen items at the bottom, forming a consistent base that acts as thermal mass.

Layer perishable items on top, ensuring they have direct contact with frozen elements rather than being separated by gaps filled with air.
Air spaces have low thermal mass and transfer heat quickly, accelerating temperature rise.
Use insulating materials such as foam inserts or tightly rolled towels to fill voids, maintaining uniformity and preventing unnecessary warming.
Tips to reduce cooler openings
Every time the cooler is opened, warm air infiltrates and cold air escapes, reducing its thermal mass.
To counter this, organize contents so that frequently used items are immediately accessible, eliminating the need for prolonged searching.

Use separate coolers or compartments: reserve one for items that require frequent access (such as beverages) and another for perishable food that remains undisturbed.
Pre-plan meals and consolidate ingredients into single-use packets, minimizing the frequency of openings.
When you must open the cooler, do so swiftly—open, retrieve the item, then close immediately.
Practical Tips and Best Practices for Campers
Here are some tips to help you further enhance your cooling game.
Pre-trip preparation: how and when to pre-cool your gear
Pre-trip preparation is critical to maximize the cooling capacity of your gear and extend food safety during off-grid excursions.
Start at least 24 hours before departure by placing your insulated bags, and any storage containers in a refrigerator or freezer, reducing their internal temperature to near the desired set point.

Pre-cool water bottles, ice packs, and any frozen food items so that when they’re packed, they immediately contribute thermal mass rather than absorbing heat from warmer contents.
Additionally, pre-chilling your food reduces the energy required to lower its temperature, delaying the onset of the “danger zone” where bacterial growth accelerates.
Organize your gear in a shaded, cool area during storage to prevent incidental warming, and verify that all pre-cooled items are sealed properly to avoid moisture loss and condensation issues.
Choosing the right size and type of cooler for your trip
Selecting the optimal cooler is crucial for preserving food safety and extending ice retention throughout your trip.
First, assess the duration of your trip, the quantity of perishables, and how frequently you’ll access the cooler.
For multi-day excursions with substantial food supplies, a large, hard-sided cooler with thick, high-density foam insulation is a good pick.

In contrast, if you’re hiking or require frequent access, a lightweight, soft-sided cooler or insulated bag might be preferable despite slightly reduced ice retention due to its portability and easy access features.
Evaluate additional features such as tight-sealing gaskets, secure latches, integrated drainage systems for melted ice, and internal compartments that facilitate organized storage.

Also, consider the environmental conditions—if you expect high ambient temperatures or direct sunlight, extra insulation and reflective exteriors become critical.
Finally, balance capacity with weight and storage dimensions to ensure the cooler meets both your logistical constraints and thermal requirements during your off-grid adventure.
Managing cooler placement at camp
Proper placement of your cooler at camp is essential to minimize external heat gain and prolong ice retention.
Best practices for cooler placement at camp:
- Use insulation – Wrap in blankets or use reflective covers to reduce heat gain.
- Find natural shade – Under trees, rocks, or a tarp.
- Elevate the cooler – Keep it off warm ground using a wooden pallet.
- Avoid heat sources – Keep it away from campfires or cooking areas.
Daily maintenance: draining melted ice vs. retaining cold water
Daily maintenance is critical for optimizing cooler performance and can be managed by either draining melted ice or retaining cold water, depending on specific conditions.

Should you drain or retain melted ice?
- Drain water if:
- It has warmed up, reducing cooling efficiency.
- You are adding fresh ice and need space.
- Retain water if:
- It is still near 32°F (0°C), as it helps maintain stable temperatures.
- You have limited ice supply and need additional thermal mass.
Recap and Final Recommendations
To keep food cold without electricity, employ a multi-faceted approach that integrates traditional insulation, evaporative cooling, and natural temperature stability.
Pre-cooling your gear and food establishes a low starting temperature, while insulated coolers with high-density foam and block ice provide long-lasting thermal mass.
Efficient packing—layering frozen items and minimizing air space—ensures uniform cooling.
Evaporative methods, such as building a Zeer Pot with unglazed clay and moist sand, leverage natural water evaporation to reduce temperatures in dry, well-ventilated settings.
Additionally, use natural cooling techniques by burying food or submerging sealed containers in cold water to exploit the earth’s consistent subsurface temperatures.
Strategic placement at camp—in shaded, elevated areas away from heat sources—further reduces ambient heat gain.

Plan meticulously: pre-chill equipment, organize dual-cooler systems to limit openings, and monitor daily maintenance by adjusting water levels or replenishing ice as needed.
Anticipate environmental conditions and tailor your methods accordingly.
We invite you to share your personal experiences and innovative ideas. How have you adapted these methods to your environment? Your insights could enhance our collective off-grid food preservation strategies.
Frequently Asked Questions (FAQs)
How do you keep food cold without a cooler while camping?
Use an insulated bag or container with frozen water bottles, or utilize natural cold (like snow, if available). Wrapping food in a damp cloth and storing it in a shaded, cool spot can also help.
How to pack frozen food for travel?
Pre-freeze items and pack them in an insulated container or cooler with plenty of ice packs or dry ice. Ensure tight packing and minimal air space to maintain the cold temperature longer.
How long does dry ice last?
In a well-insulated cooler, dry ice generally lasts about 18–24 hours, though exact duration varies with ambient temperature and container quality.
Is a cooler food safe?
Yes—if kept at or below 40°F (4°C), foods stored in a cooler remain safe. Keep the cooler closed and well-stocked with ice or ice packs to maintain the proper temperature.
What is the best cooler for food?
It depends on your needs. Premium models like Yeti, Engel, or Pelican offer excellent ice retention and durability for extended trips, while options like Coleman are effective and budget-friendly for shorter outings.